Layout
This post is the first part in a series on detail mapping in Unity and clever ways to use it to create interesting materials:
- Part 1: General Concept ⇐ You Are Here
- Part 2: Detail Masking
- Part 3: Upscale vs Downscale
- Part 4: Blending with Secondary Maps
- Part 5: Little Tricks
What is Detail Mapping?
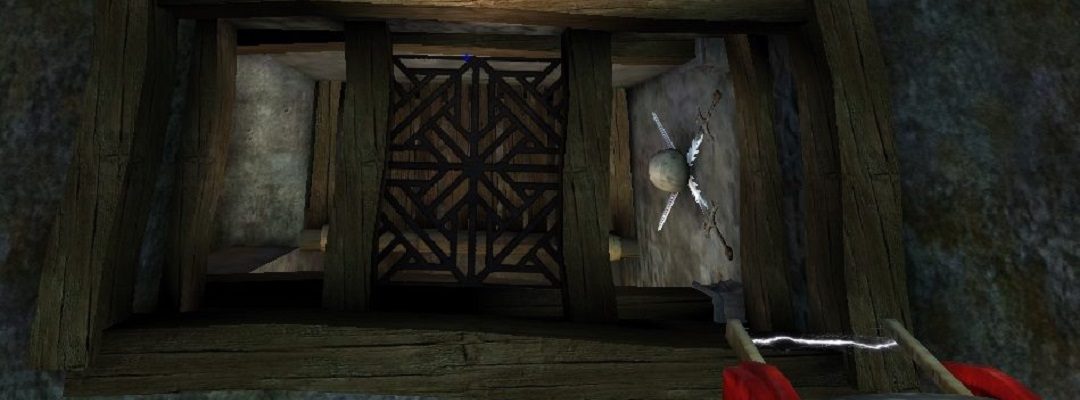
Ever since the release of Unity 5.0’s Standard Shader, Unity has had built-in support for detail-mapping. The functionality is straightforward enough to understand: a detail map is a second layer of diffuse or normal texturing you can apply to a Material. The first time I’ve seen this technique was back with the release of UT2004:
|
|
|
|
|
Wall at a distance |
Same wall up close |
Detail-mapped ground |
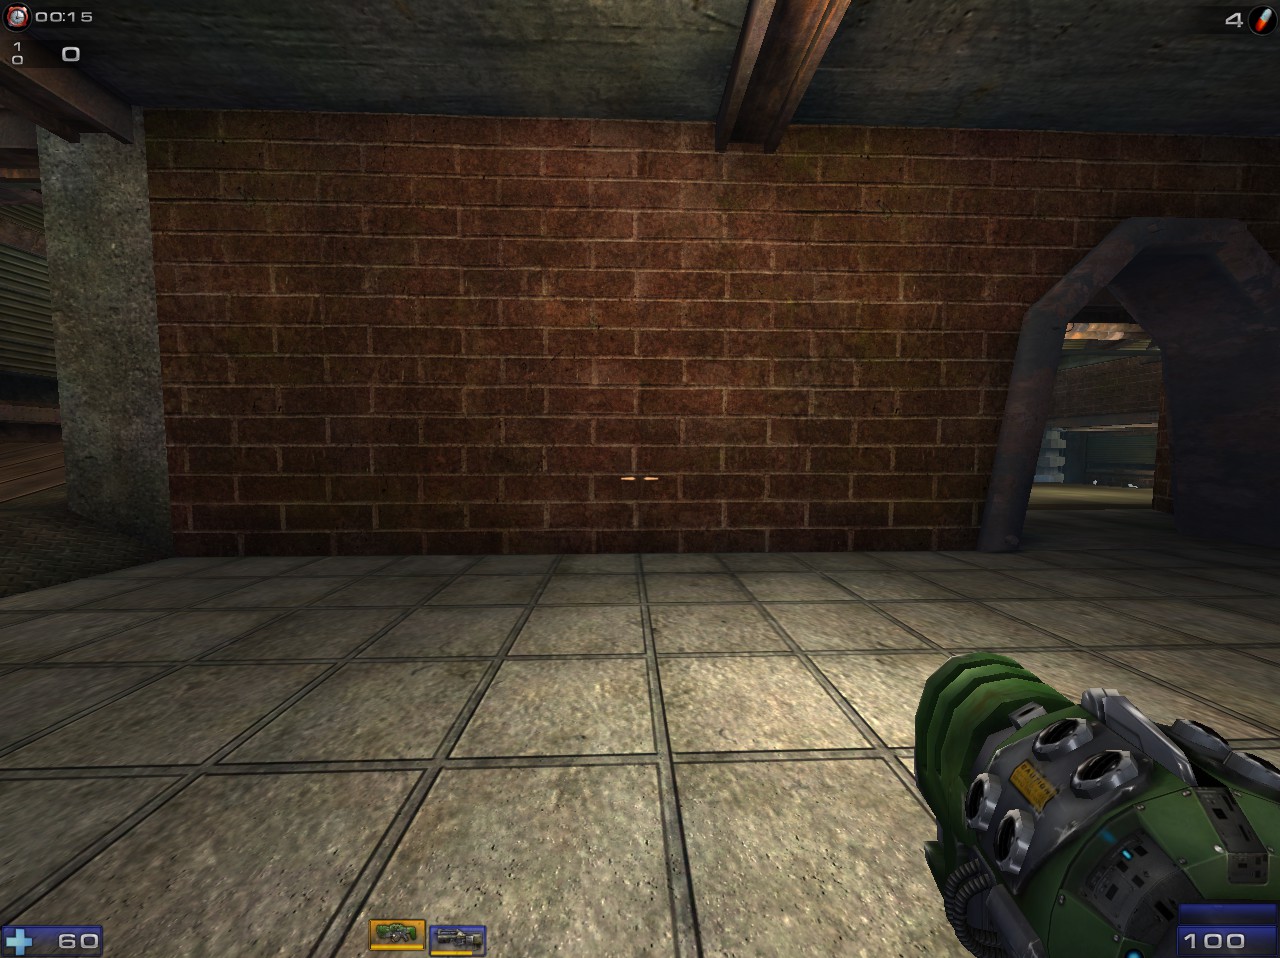
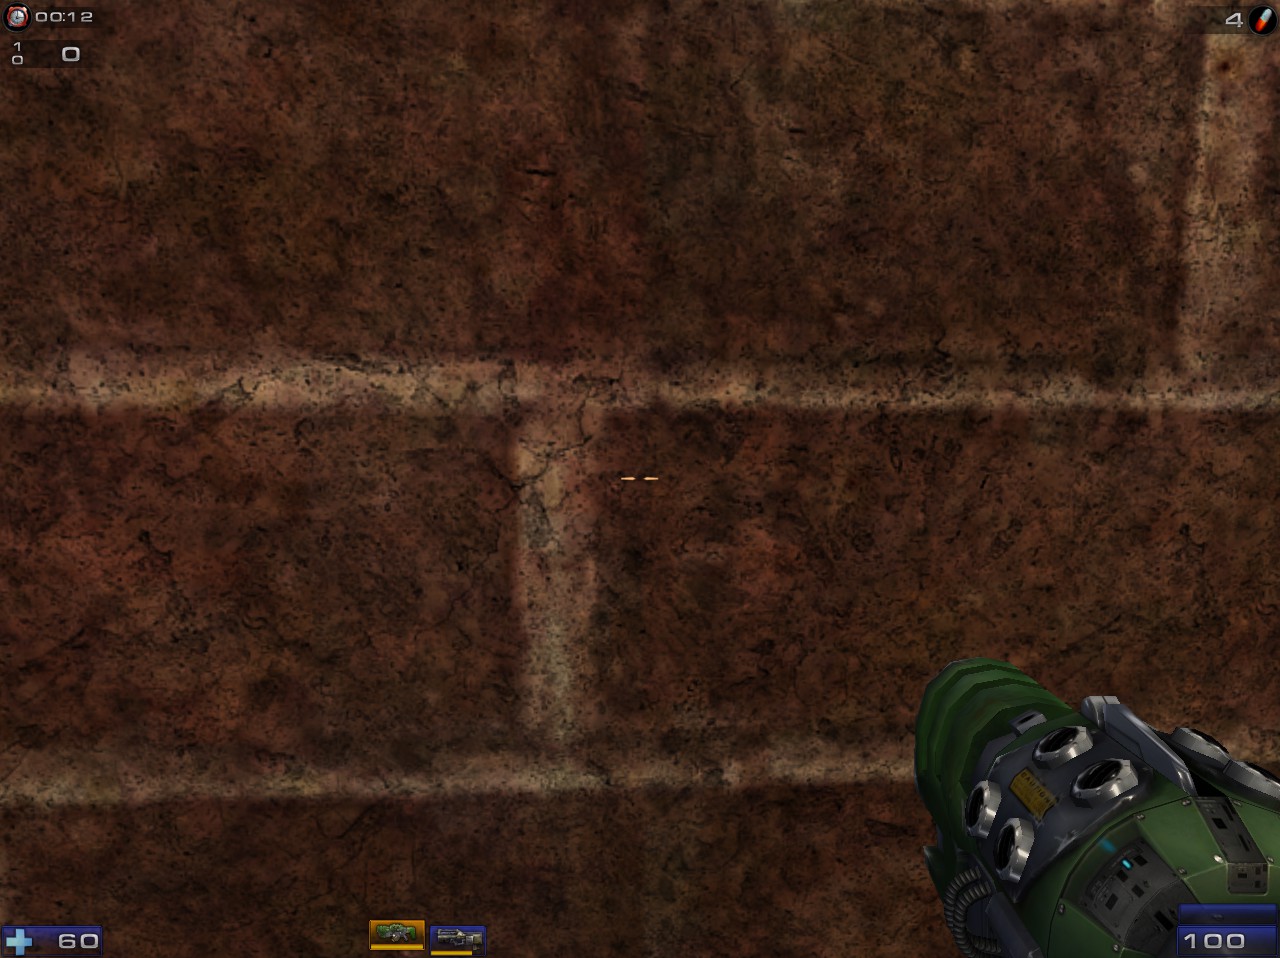
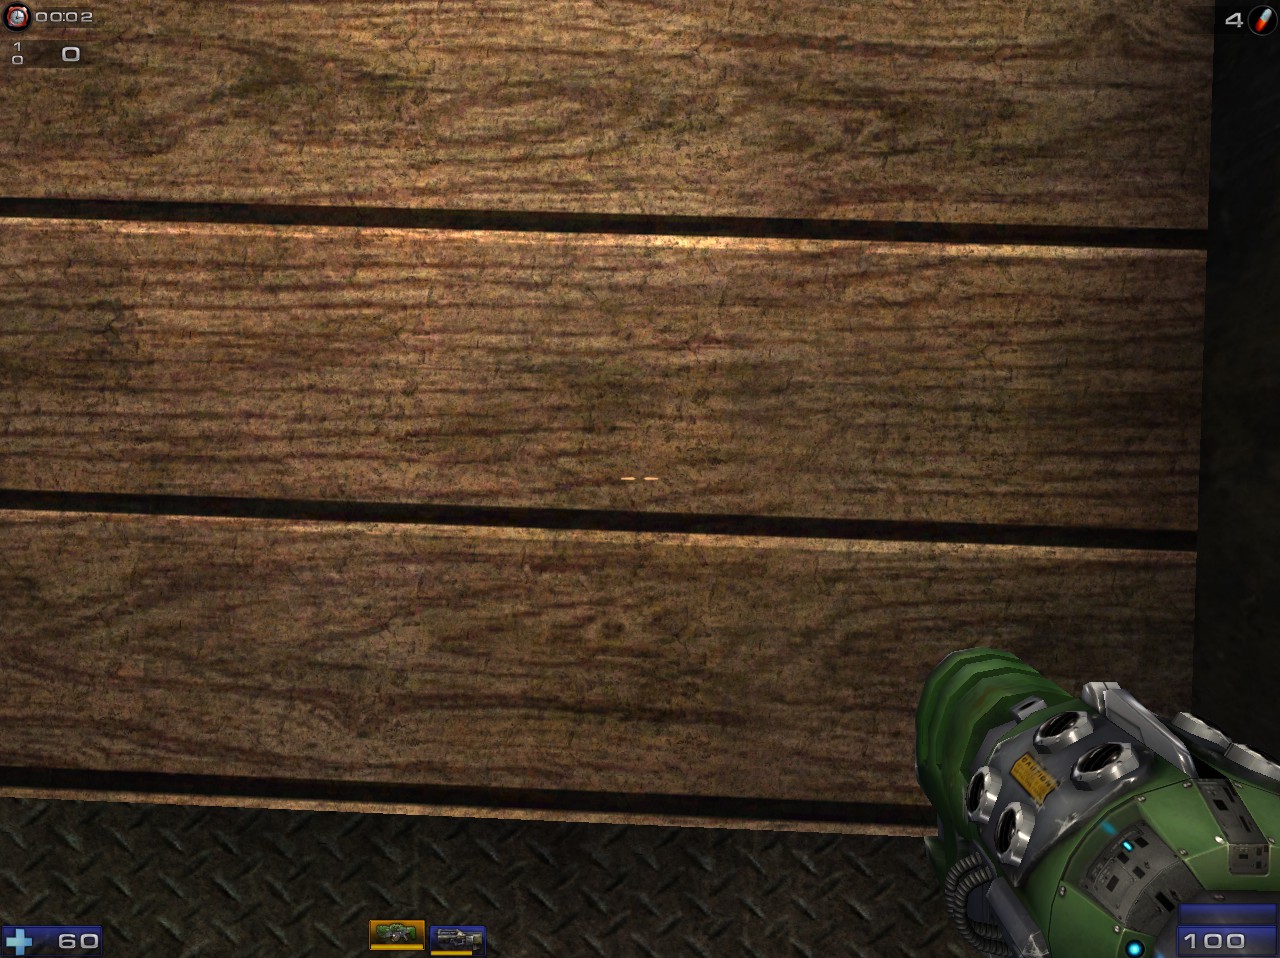
As you can tell from the images above, when you walk right up to a wall or peer closely at the floor, smaller cracks and grain become visible.
In Unreal Tournament 2004, as in many games that use detail mapping, the detail maps are simply a second layer of diffuse map, usually applied additively, usually with a formula like this:
result.rgb = primaryDiffuse.rgb + (detailDiffuse.rgb – 0.5)
Thus, having a mid-gray detail diffuse would look like having no detail diffuse map at all, but pixels with values lower than mid-gray would add dark spots to the surface and pixels with values higher than mid-gray would add bright spots.
But with Unity’s Standard Shader, the detail mapping functionality has been expanded beyond this simple implementation, allowing us to use detail maps for other trickery. Looking at the Secondary Maps section of Unity’s Standard Shader inputs, we can see what we have to work with:

The first slot gives you the standard detail diffuse color map (with each pixel’s value multiplied by 2 before being applied to the surface, for some reason). On top of that, you are able to provide a detail normal map, with the box on the right exposing a multiplier for the strength at which the normal map gets applied. The tiling and offset shown here are separate from the tiling and offset for the main diffuse/normal maps, allowing you to choose a separate repeat level for your detail map. You can even select a different set of UVs to use for the detail maps.
Lastly, at the very top under the previous section, you’ll see a texture slot labeled “Detail Mask”, that allows you to mask off certain areas of the surface that should not receive detail mapping. In Part 2, we’ll cover detail masking in detail and show how it can be used to enhance the detail of a surface and its benefits over other approaches.
Recent Comments